Tasmota Weather Station

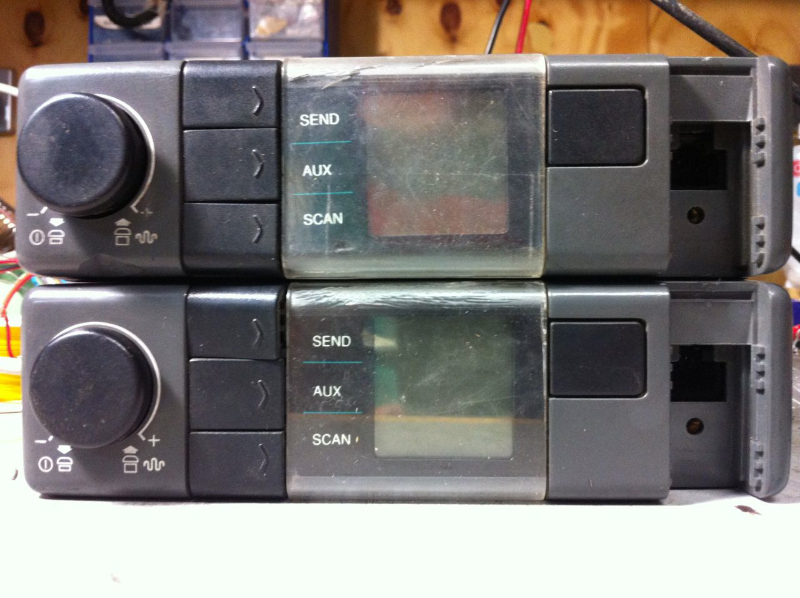
About 10 years ago I bought a Lacrosse WS-2308, for the time it was a brilliant piece of kit.

It did all the weather measurements you could want and displayed them all on a large LCD screen. It also featured a RS232 serial port which at the time I connected to my APRS station at home and transmitted the weather data digitally via radio.

When I moved to Mildura, I decided to give it a birthday. I bought a brand new anemometer and new cable. It worked well on the desk, but the moment I hooked it up with the new 15M cable it died.

Turns out the cable was a cross-over cable and powered the barometer / transmitter in reverse polarity.
Frustrated and annoyed with myself, I shelved the project until recently when I noticed the Lacrosse TX20 and TX23 anemometers had recently been supported by Tasmota.

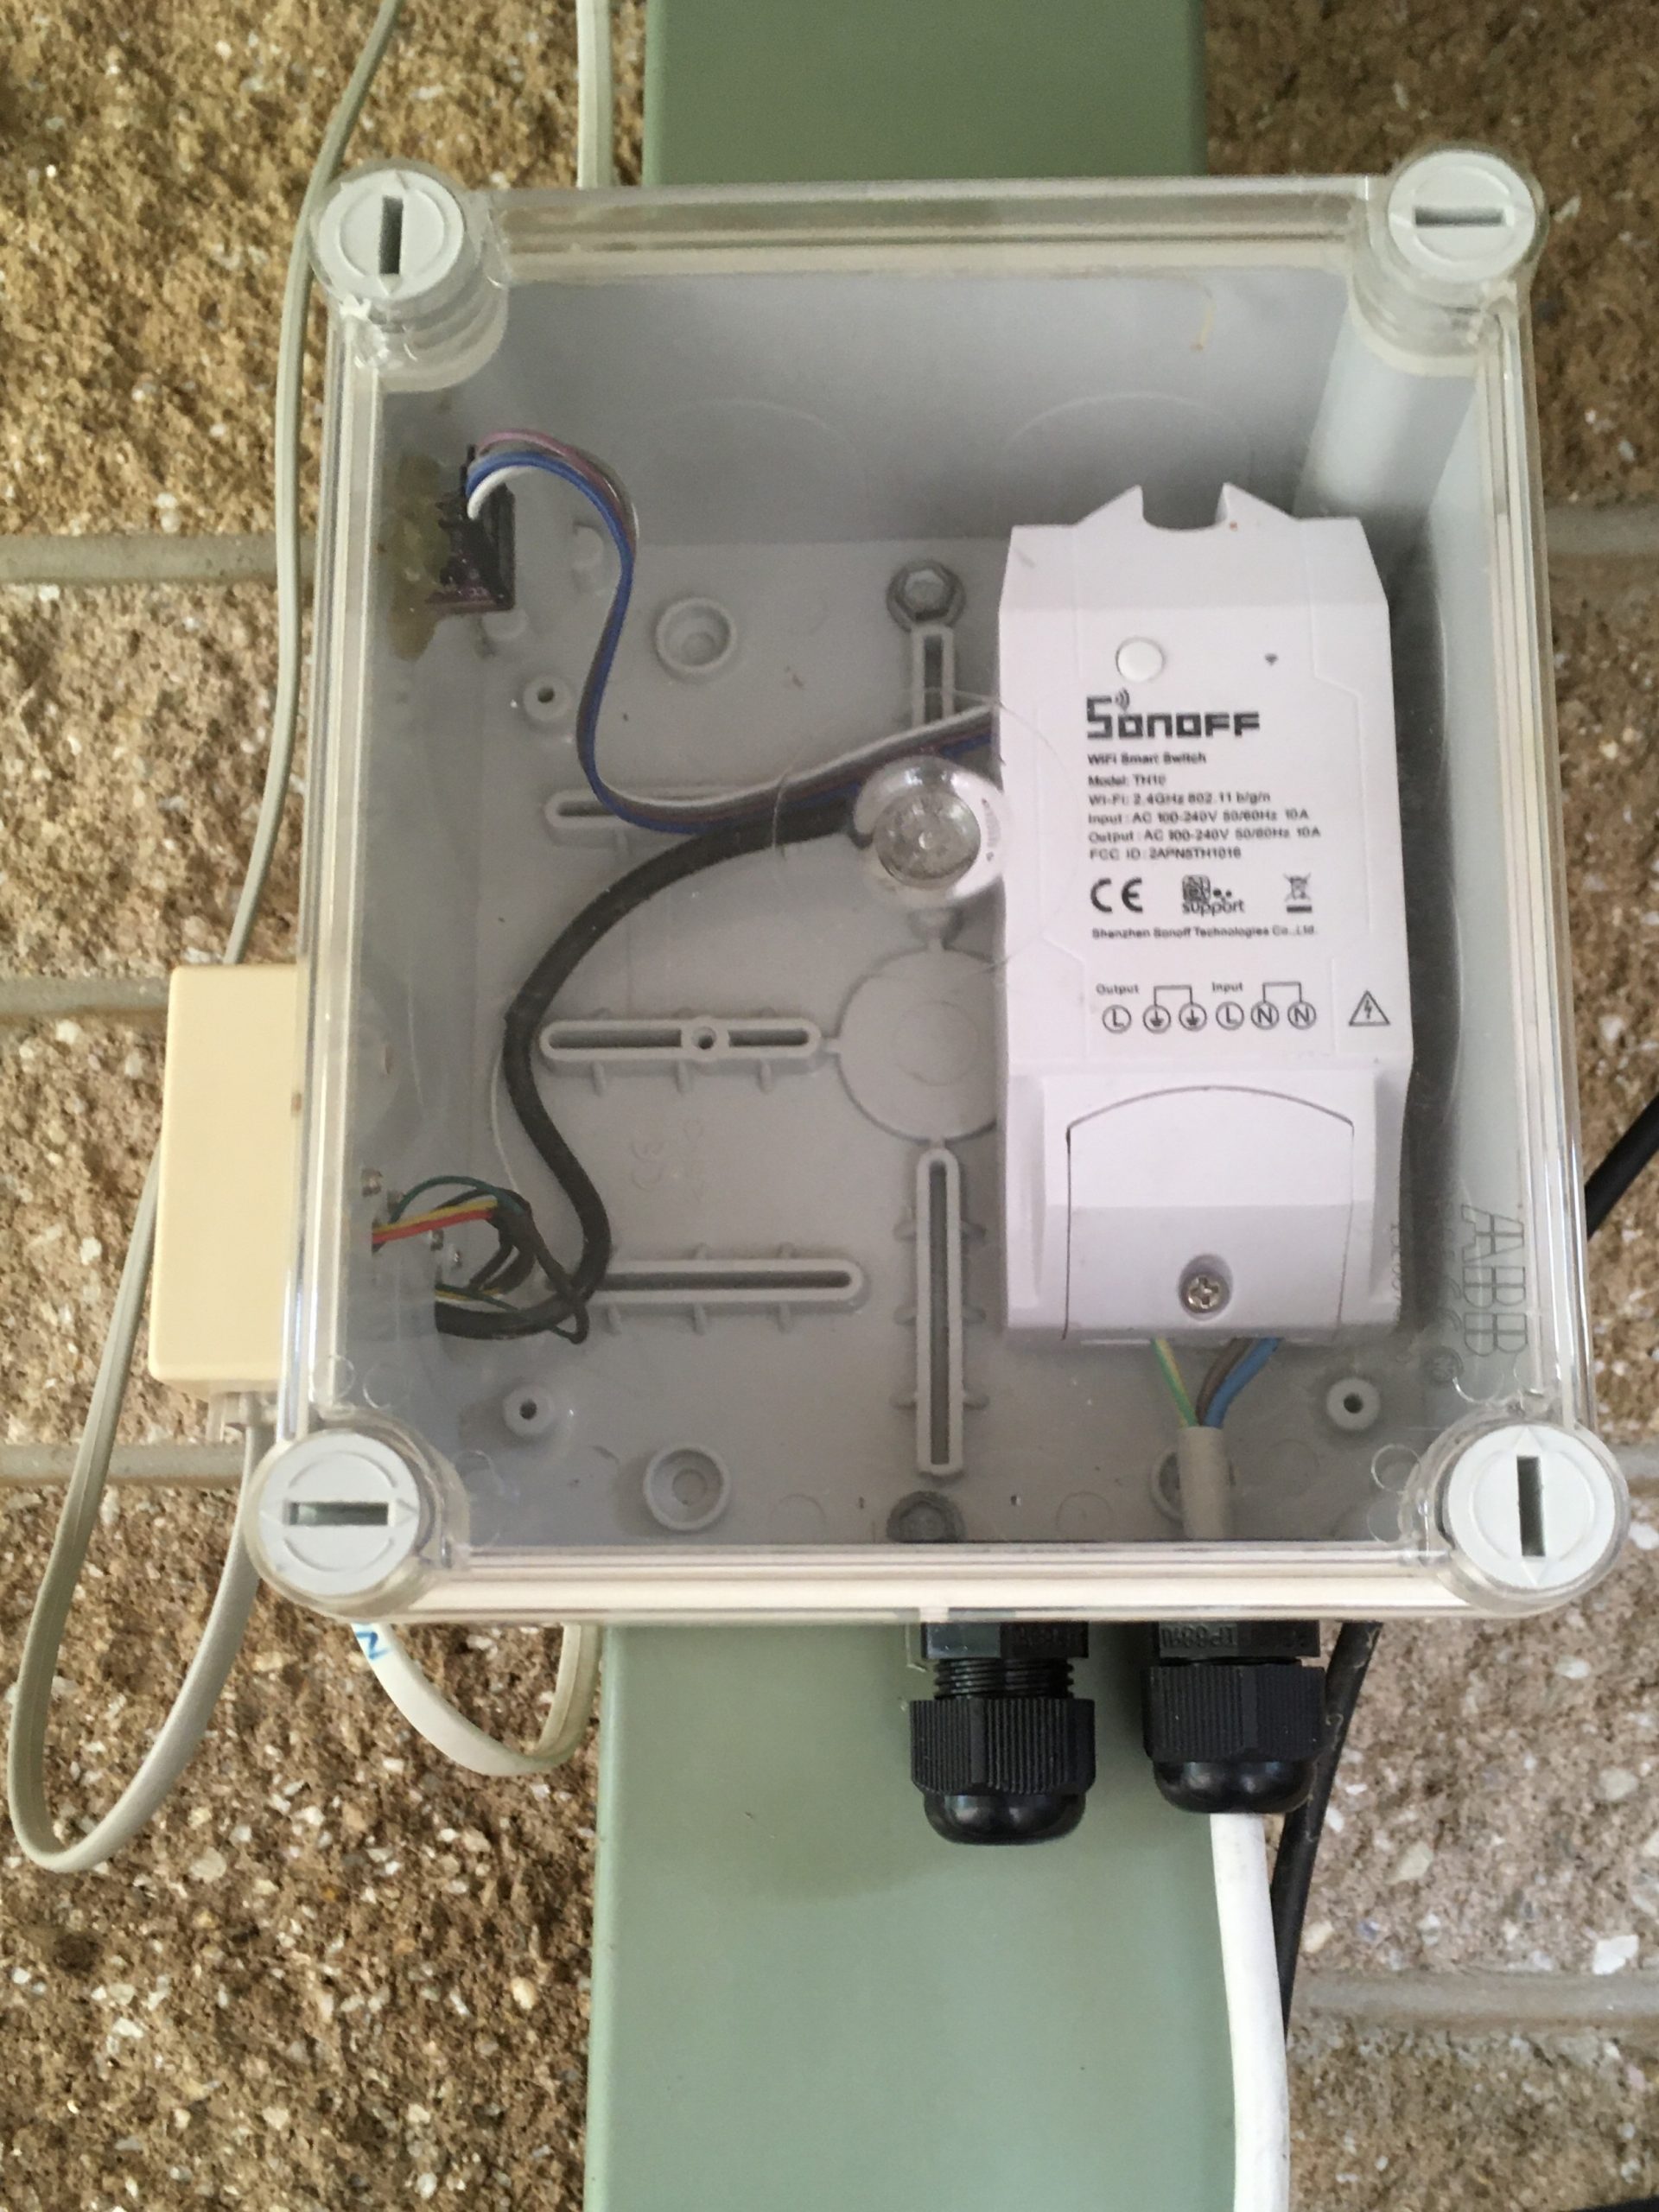
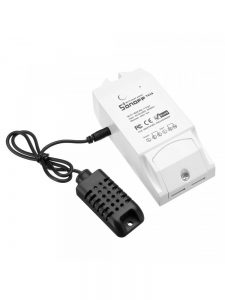
Gathering bits and pieces I had collected and a quick visit to Techlab, the local Jaycar dealer I put together a new weather station with a Sonoff TH and the supplied temperature sensor. It worked well, but I soon realised the limits of the AM2301 sensor.

Both the reported temperature and humidity reading are not very reliable and it also lacks barometric air pressure.

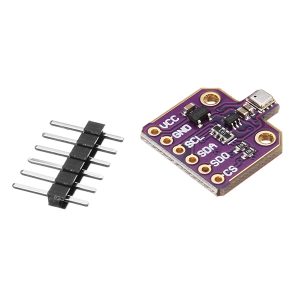
I replaced the AM2301 for a Bosch BME-680 and I was immediately impressed with the much better readings.

The Tricky Part

Tasmota is the preferred software, but none of the downloadable flash images support the Lacrosse anemometer – you have to compile your own.

By far the easiest way to roll your own Tasmota image is to do it online with the aid of Tasmocompiler. The instructions are very easy to follow and provide you with a very easy to used web interface.

When selecting the features, I chose Home Assistant, Rules, Timers and Web Interface.

At custom parameters to add support for the TX20 and BME enter the following:

#ifndef USE_I2C
#define USE_I2C  // I2C using library wire (+10k code, 0k2 mem, 124 iram)
#endif
#ifndef USE_BMP
#define USE_BMP  // Add I2C code for BMP085/BMP180/BMP280/BME280 sensor (+4k code)
#endif
#ifndef USE_BME680
#define USE_BME680 // Enable support for BME680 sensor using Bosch BME680 library (+4k code)
#endif
#ifndef USE_TX20_WIND_SENSOR
#define USE_TX20_WIND_SENSOR  // Add support for La Crosse TX20 anemometer (+2k6/0k8 code)
#endif

If you have a Lacrosse TX23, simply change the USE_TX20_WIND_SENSOR to say USE_TX23_WIND_SENSOR.

Flashing a sonoff with Tasmota can be daunting task for the uninitiated. There is a pile of methods and lots of tutorials online, but for beginners check out Jonathan at Superhouse and his tutorial using Tasmotizer.

Once flashed with a Tasmota, you no longer need to physically connect to the Sonoff to re-flash it again. Simply reflash it with a minimal image and once complete, reflash it again with your own compilation.

Configure Tasmota

GPIO 1 and 3 have been configured for I2C communication with the BME 680 air sensor, which I connected to the programming connector of the Sonoff.

GPIO 4 is connected to the rain bucket. The rain bucket is not much more than a reed switch and a paddle. It pulses a 3.3V signal using the VCC of the Sonoff.

GPIO 14 is used to communicate with the Lacrosse TX20 Anomometer.

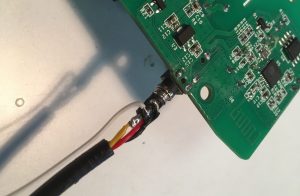
The connector used for the original AM2301 sensor is a 4 way 2.5mm audio style plug. Unfortunately there is only 3 conductors in the original cable.

The plug insulation was carefully cut away and an additional wire was added to allow the use of GPIO 4 and the rain bucket.

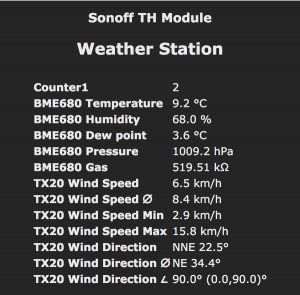
When configured and connected up to the sensors, data should appear on the Tasmota home screen. Once it is configured to connect to an MQTT broker, this data can be viewed and used with other software like Node-Red or Home Assistant.

The only issue we have is that counter is counting rain bucket pulses, not actual millimetres of rain.

The Lacrosse WS2300 series rain bucket pulses each 0.1mm of rain collected. Adjustments could be made in the Tasmota rules, but for the moment – I use the following Home Assistant template sensor which is added to the configuration.yaml file.

sensor:
  - platform: template
    sensors:
      rainfall:
        friendly_name: "Rainfall since 9:00 am"
        icon_template: mdi:water
        unit_of_measurement: 'mm'
        value_template: "{{ states('sensor.sonoff_th_counter_c1')|float * 0.1 }}"

To reset the counter each morning at 9am, enter the following command into the Tasmota console.

rule1 on time#minute=540 do counter1 0 endon

And there we have it, a working Sonoff based weather station.

Thin Client Home Automation

I’ve been playing a bit with Home automation for the last year. It started when I bought a Sonoff to interface with the garage door. At the time I just wanted to be able to open and close the door from my phone and know if I had left it open while I was at work.

Well it snow balled from there.

I discovered that Homebridge was the answer to link my sonoff garage door opener to my iPhone. Soon after that I bought a Mirabella Smart Switch that I flashed with Tasmota. and a pile of other devices. But I tired quickly of Homebridge lacking a GUI, so I found HOOBS. I couldn’t justify buying a new AppleTV to allow automation, so to start with I just programmed my posse of Tasmotized Sonoffs and other smart devices to turn on and off using their own timers.

And then I bought a motion sensor which I of course tasmotized.

Continue reading “Thin Client Home Automation”

Thin Client NAS

Inside the HP T5540

Since moving to Mildura I have slowly been reassembling my “toys” that were packed away in boxes to move up here.

When I was in Horsham, I used to have an old  MacBook running 10.6.8 OSX Server. I used it for storage, remote desktop and web hosting. Later versions of MacServer became less appealing when SQL server was dropped for PostgreSQL, so it just stayed that way.

I no-longer host my own websites or need to remote desktop home from work, so all i need was storage. A simple NAS would do this. Continue reading “Thin Client NAS”

HP T5540 Thin Client

Like I really need new project, but a new one found me today. I visited the local recycle shop today – Around Again. It’s a junk shop conveniently located next the tip up here in Mildura and it is were things that are too good to be thrown out end up.

It is run by volunteers and all income derived from selling other peoples junk is put back into the business and employs many people living with a disability.

I’ve already found a few bargains here and today it was another. As I entered the shop today I saw a pile of HP T5540 Thin Client. A quick google search on my iPhone as I inspected the devices indicated that they were powered by a VIA Eden 1GHz Processor with 512MB RAM and 128MB Flash RAM.

Continue reading “HP T5540 Thin Client”

Unilab KL-450 Repeater

While the blogging bug has managed to catch with me this time, I have decided to document some of my older projects.

So starting with requests, the first of my projects from the archives is an Amateur Radio repeater I made.

Inside the Unilab KL-450 Transeiver

The Unilab repeater project started in early 2015 when Bill Husin – VK3YHT donated an ex Ambulance Victoria radio to Wimmera Amateur Radio Group for the purpose of building a new repeater with. I took it upon myself to familiarise myself with the radio and convert it to use on Amateur Radio. Continue reading “Unilab KL-450 Repeater”

Out with the old – In with the new

Progress is developing with the Codan.

Originally the radio was a “Remote Head” radio, but I was wanting to use it as a base radio. So I welded up all of the extra holes in the face plate then drilled and cut some new holes to turn it in to a base radio.

Before I could start installing the Arduino powered Direct digital synthesiser (DDS), I needed to remove the un-required circuitry and and wiring. Continue reading “Out with the old – In with the new”

Codan 7277-TB Options PCB

Before modifying of the Codan could take place, I needed to work out what had been fitted to it and what was surplus to my requirements.  The Codan radios where very popular for use with the Royal Flying Doctors service, which used an emergency tone alert when assistance was required.

This radio had two of these emergency call boards and also another undocumented one bolted to the front panel.

I posted a question on the Codan Yahoo Group if anyone knew what it might be.  Without the remote control radio head it made it very difficult to identify the purpose of the board. On removal of the board, the radio became silent.
Ken – VK6YKG closely inspected my photos of the PCB and came to the conclusion that it may have been used possibly as a tone squelch PCB given the use of the NE567 tone decoder IC. Maybe it was used for decoding FSK, RTTY or even WeFAX.
After working out that the board was intercepting the AF audio between the Mute PCB and Remote PCB, I have since removed it as it is surplus to my requirement.

Continue reading “Codan 7277-TB Options PCB”

Back again, hello Mildura

Here is the blog that never started.

Initially I registered my own domain name because the new id.au domain names were so cheap. I just had to have one.

After several failed attempts here is my third go at blogging.

After a move to my new home Mildura and a career change, maybe blogging might stick this time – one can only hope.

So here is my new project – a Codan 7727 HF radio. They were extremely popular during the eighties, but fell out of popularity when PLL became popular and Channel crystals became $50 a pop.

The plan with this girl is to replace the crystals with a DDS powered Arduino kit designed by VK5ZLR.

Let’s see if I can blog the process of my new found project.

NextGEN User Roles

Recently I needed to migrate www.blueribbonraceway.com.au from one host to another. The site also uses www.blueribbonraceway.com. Before the migration the .com domain was the primary domain and the .com.au was the redirect.  Initially I thought we could keep the site working if we used .com as the primary domain name and the .com.au would become redirect.

Unfortunately nothing went to plan and the site was down for a few days while the accounting was fixed up.
What had happened was there were lots of references to the website using both .com and .com.au – the migration didn’t work to well and I had to spend a lot of time hand editing the SQL database to make every reference just blueribbonraceway.com.au

One of my favourite plugins used by this site was All-In-One-Events-Calendar plugin, but regardless what I tried to get it to work on the new host, it wouldn’t play. The last straw was fiddling with the roles manager in WordPress. AI1E Calendar still wouldn’t work and in my hast I also broke NextGEN. Continue reading “NextGEN User Roles”

Building a Repeater

Two W1 Philips PRM8010Repeaters have always been a fascination of mine ever since I started playing with radios. The magic begins when you discover you ‘can get into one’ or a better description would be ‘to make radio contact with one’, as you never know who is listening and how far away they are.

Continue reading “Building a Repeater”