About 10 years ago I bought a Lacrosse WS-2308, for the time it was a brilliant piece of kit.
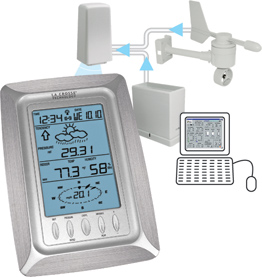
It did all the weather measurements you could want and displayed them all on a large LCD screen. It also featured a RS232 serial port which at the time I connected to my APRS station at home and transmitted the weather data digitally via radio.
When I moved to Mildura, I decided to give it a birthday. I bought a brand new anemometer and new cable. It worked well on the desk, but the moment I hooked it up with the new 15M cable it died.
Turns out the cable was a cross-over cable and powered the barometer / transmitter in reverse polarity.
Frustrated and annoyed with myself, I shelved the project until recently when I noticed the Lacrosse TX20 and TX23 anemometers had recently been supported by Tasmota.
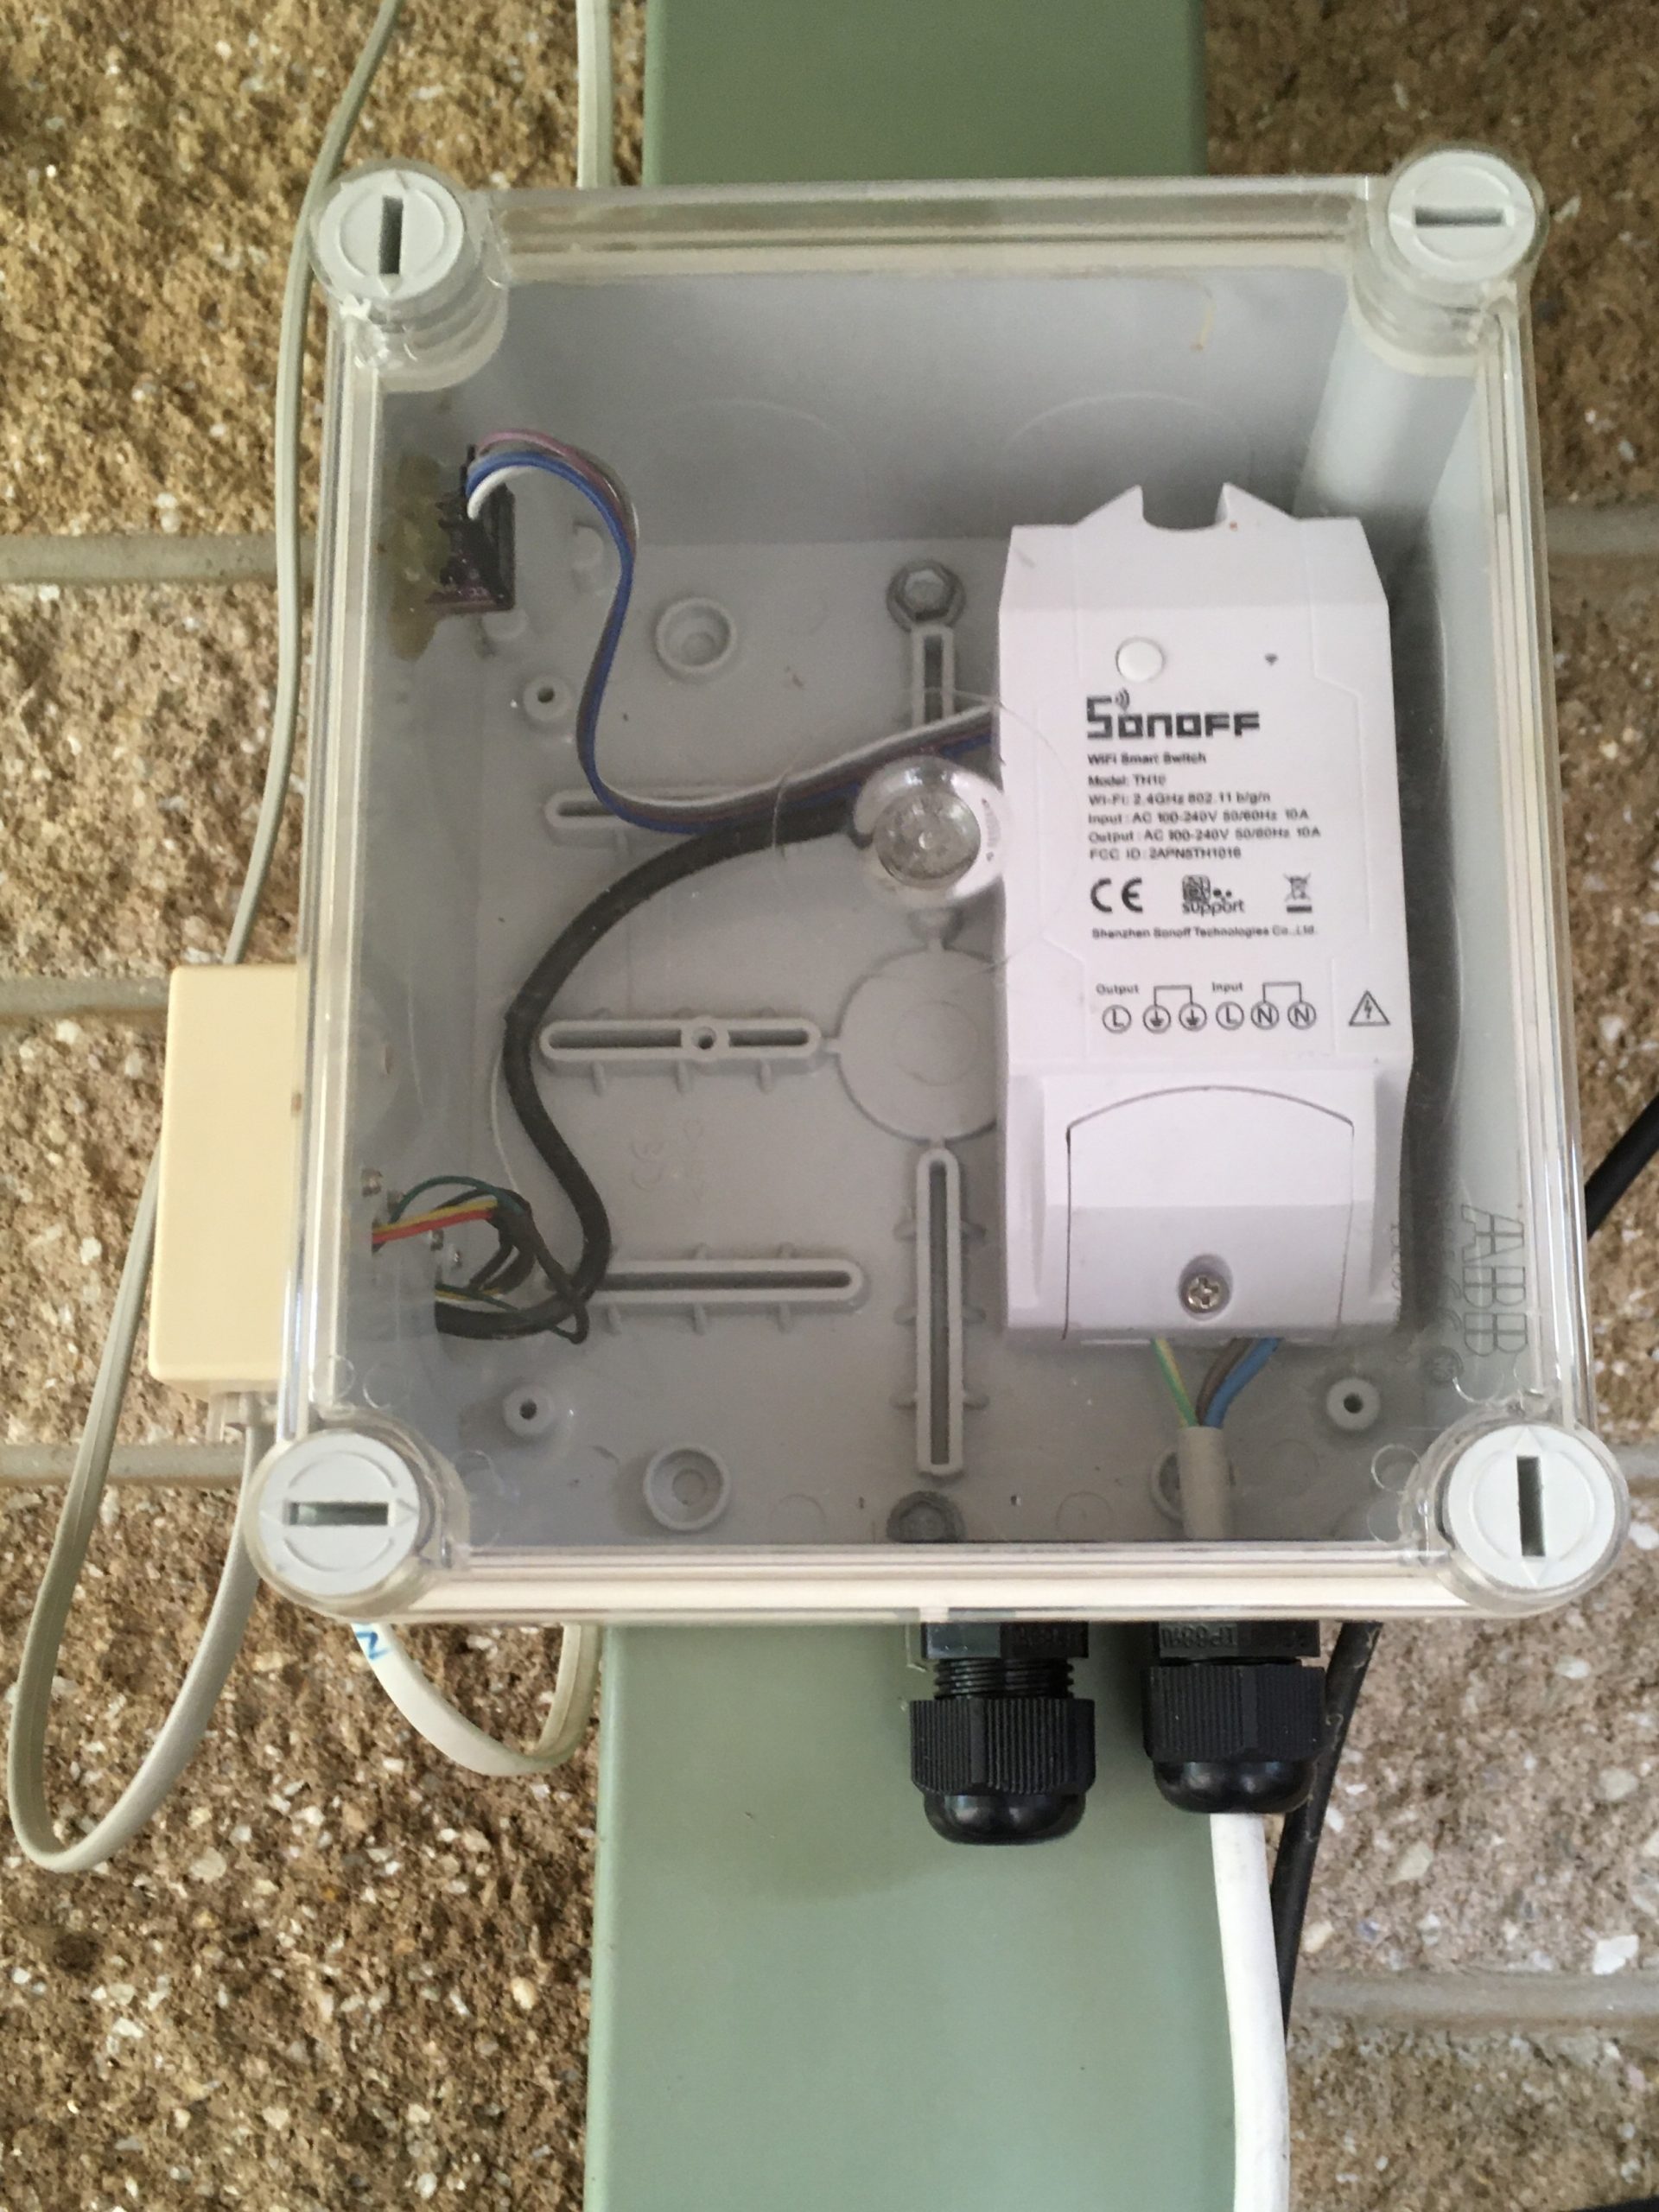
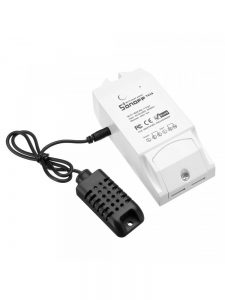
Gathering bits and pieces I had collected and a quick visit to Techlab, the local Jaycar dealer I put together a new weather station with a Sonoff TH and the supplied temperature sensor. It worked well, but I soon realised the limits of the AM2301 sensor.
Both the reported temperature and humidity reading are not very reliable and it also lacks barometric air pressure.
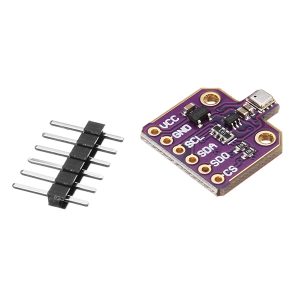
I replaced the AM2301 for a Bosch BME-680 and I was immediately impressed with the much better readings.
The Tricky Part
Tasmota is the preferred software, but none of the downloadable flash images support the Lacrosse anemometer – you have to compile your own.
By far the easiest way to roll your own Tasmota image is to do it online with the aid of Tasmocompiler. The instructions are very easy to follow and provide you with a very easy to used web interface.
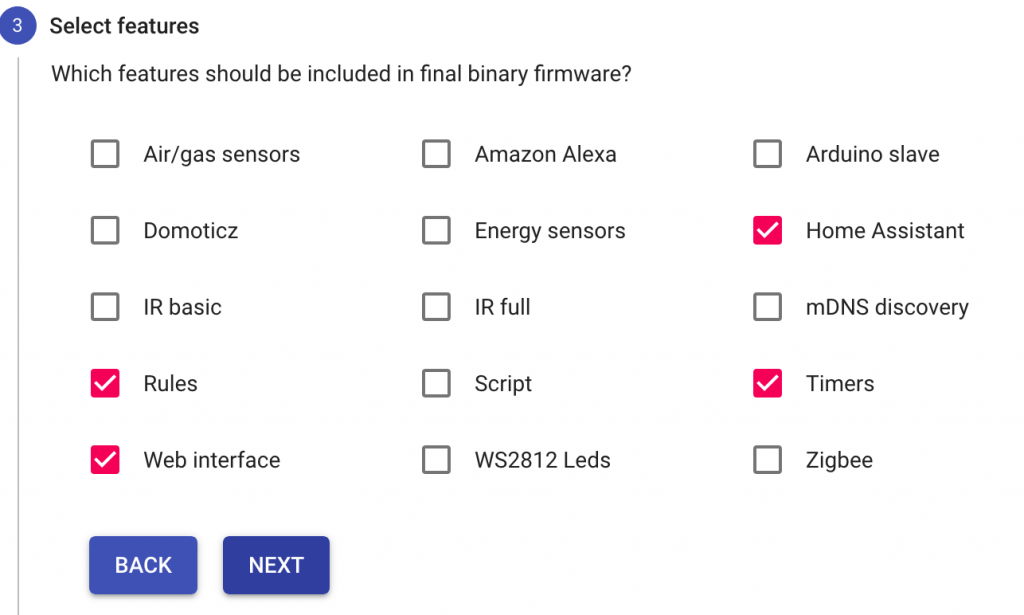
When selecting the features, I chose Home Assistant, Rules, Timers and Web Interface.
At custom parameters to add support for the TX20 and BME enter the following:
#ifndef USE_I2C
#define USE_I2C  // I2C using library wire (+10k code, 0k2 mem, 124 iram)
#endif
#ifndef USE_BMP
#define USE_BMP  // Add I2C code for BMP085/BMP180/BMP280/BME280 sensor (+4k code)
#endif
#ifndef USE_BME680
#define USE_BME680 // Enable support for BME680 sensor using Bosch BME680 library (+4k code)
#endif
#ifndef USE_TX20_WIND_SENSOR
#define USE_TX20_WIND_SENSOR  // Add support for La Crosse TX20 anemometer (+2k6/0k8 code)
#endif
If you have a Lacrosse TX23, simply change the USE_TX20_WIND_SENSOR to say USE_TX23_WIND_SENSOR.
Flashing a sonoff with Tasmota can be daunting task for the uninitiated. There is a pile of methods and lots of tutorials online, but for beginners check out Jonathan at Superhouse and his tutorial using Tasmotizer.
Once flashed with a Tasmota, you no longer need to physically connect to the Sonoff to re-flash it again. Simply reflash it with a minimal image and once complete, reflash it again with your own compilation.
Configure Tasmota
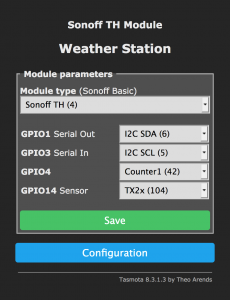
GPIO 1 and 3 have been configured for I2C communication with the BME 680 air sensor, which I connected to the programming connector of the Sonoff.
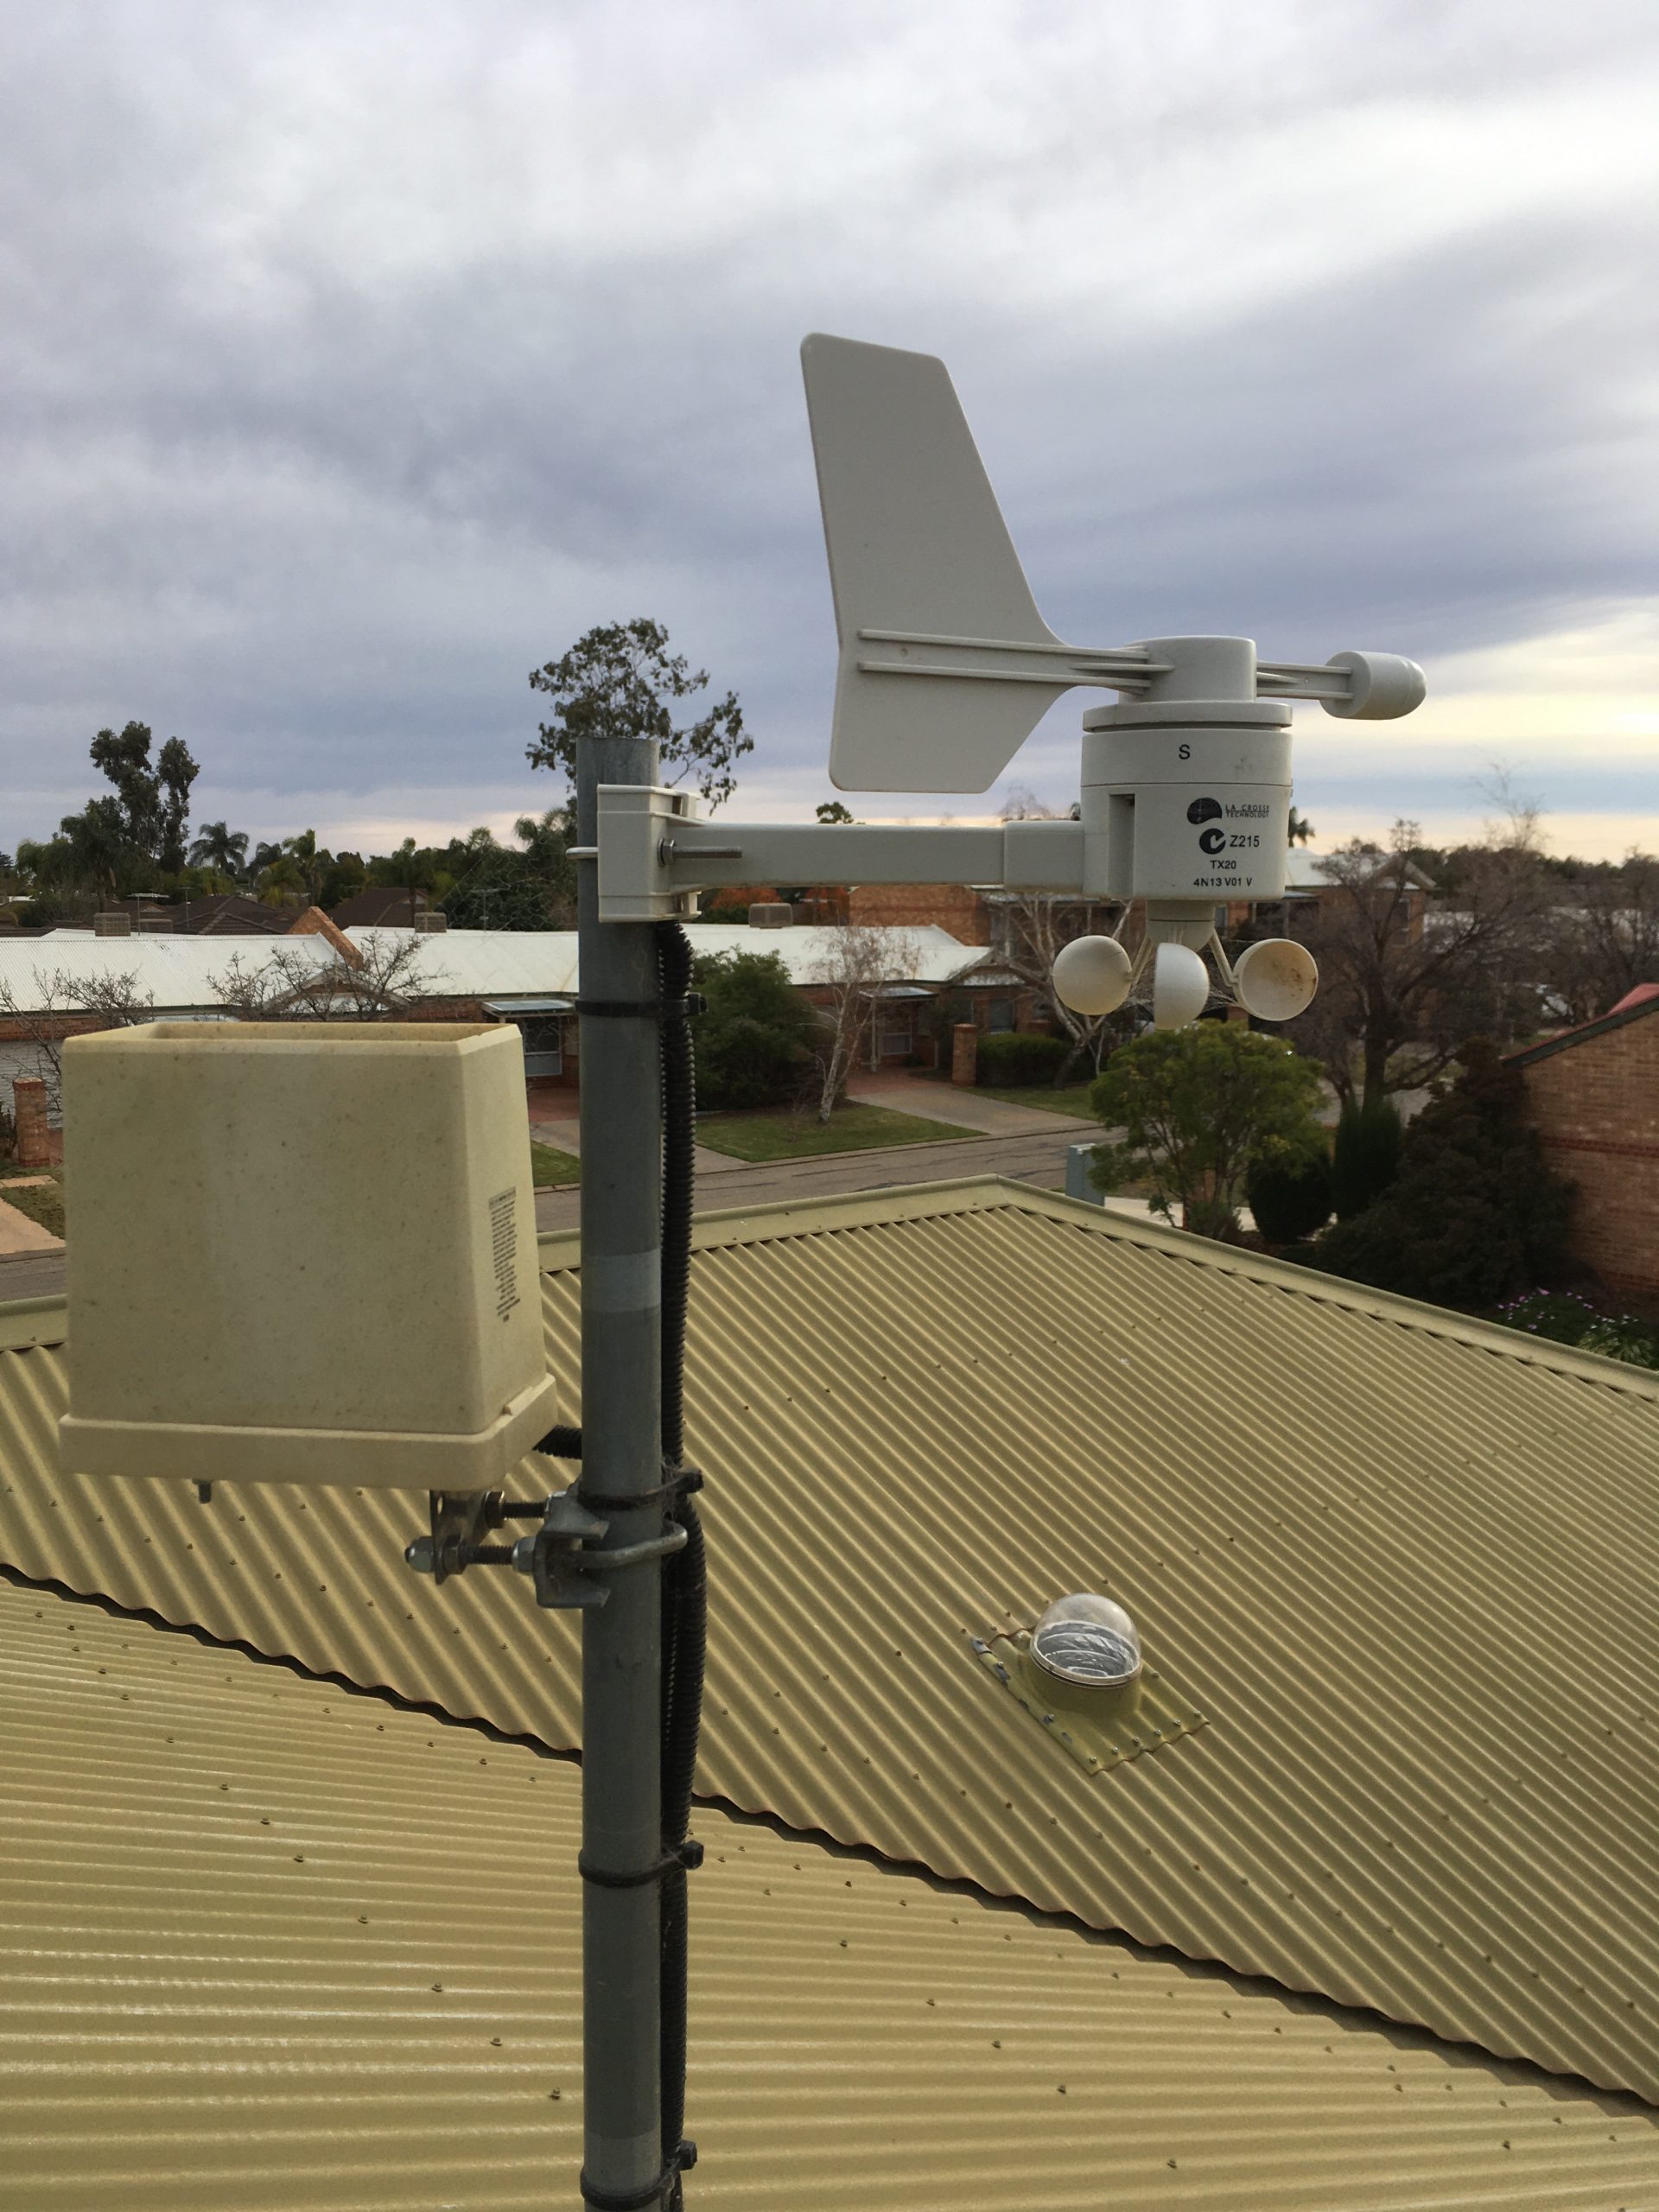
GPIO 4 is connected to the rain bucket. The rain bucket is not much more than a reed switch and a paddle. It pulses a 3.3V signal using the VCC of the Sonoff.
GPIO 14 is used to communicate with the Lacrosse TX20 Anomometer.
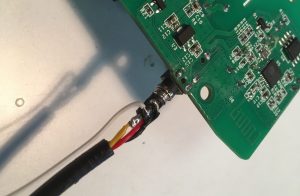
The connector used for the original AM2301 sensor is a 4 way 2.5mm audio style plug. Unfortunately there is only 3 conductors in the original cable.
The plug insulation was carefully cut away and an additional wire was added to allow the use of GPIO 4 and the rain bucket.
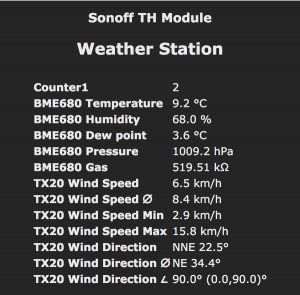
When configured and connected up to the sensors, data should appear on the Tasmota home screen. Once it is configured to connect to an MQTT broker, this data can be viewed and used with other software like Node-Red or Home Assistant.
The only issue we have is that counter is counting rain bucket pulses, not actual millimetres of rain.
The Lacrosse WS2300 series rain bucket pulses each 0.1mm of rain collected. Adjustments could be made in the Tasmota rules, but for the moment – I use the following Home Assistant template sensor which is added to the configuration.yaml file.
sensor:
  - platform: template
    sensors:
      rainfall:
        friendly_name: "Rainfall since 9:00 am"
        icon_template: mdi:water
        unit_of_measurement: 'mm'
        value_template: "{{ states('sensor.sonoff_th_counter_c1')|float * 0.1 }}"
To reset the counter each morning at 9am, enter the following command into the Tasmota console.
rule1 on time#minute=540 do counter1 0 endon
And there we have it, a working Sonoff based weather station.
